Embroidery on pants is one of the easiest ways to turn plain clothing into something personal. You do not need expensive tools or years of practice. With basic stitches and the right setup, anyone can add clean, lasting embroidery to pants at home.
If you are wondering how to embroider on pants, the answer is simple. Choose a small design, prep the fabric well, and stitch with steady tension. This guide walks you through each step so your embroidery looks neat, wearable, and professional.
Tools and Materials You’ll Need
Using the right tools from Zuhoor makes embroidery easier and helps prevent damage to your pants.
Tools and Materials You’ll Need
To embroider pants properly, you need a few basic tools that make stitching easier and cleaner. Embroidery needles in sizes 7 to 9 work well for most pant fabrics. Embroidery floss or cotton thread is used to create the design, depending on how bold or fine you want the stitches to look. A 5 to 7 inch embroidery hoop helps keep the fabric steady while you work. Fabric chalk or a washable marker allows you to trace the design clearly, and small sharp scissors help trim threads neatly.
Fabric Support
Fabric support plays an important role in embroidery. Tear-away stabilizer is best for thin or lightweight fabrics, while iron-on stabilizer works better for denim or stretch pants. Using stabilizer prevents puckering and helps the stitches stay even and secure.
Helpful Extras
A few extra tools can make embroidery more comfortable. A thimble protects your fingers when pushing the needle through thick seams. An iron helps smooth the fabric and gives the embroidery a clean finish. Tweezers are useful for handling loose threads and working in tight areas.
For embroidery on jeans, use strong needles and a firm stabilizer. Denim needs extra support to avoid puckering.
Choosing the Right Design for Pants
Design choice affects how long embroidery lasts and how it looks when worn.
Best design styles
- Small florals
- Minimal line art
- Simple shapes
- Initials or short words
Best placement areas
- Ankle cuffs
- Pocket corners
- Side seams
- Outer thigh
Avoid inner thighs and areas that rub often. These spots wear down stitches fast.
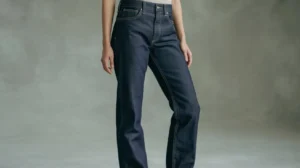
For women’s fashion, embroidery pants women designs often focus on clean lines and soft details. Zuhoor collections follow this approach by using balanced patterns that stay wearable and comfortable.Design size matters. Smaller designs hold shape better and wash well.
Preparing the Pants for Embroidery
Preparation decides how clean your final result looks.
Step 1: Wash the Pants
Always wash and dry the pants before starting embroidery. New fabric can shrink after the first wash, and embroidery done on unwashed pants may shift or wrinkle later. Use mild detergent and avoid fabric softener. Let the pants dry completely so the fabric returns to its natural shape before stitching.
Step 2: Iron Flat
Iron the pants to remove all wrinkles and folds. Smooth fabric makes it easier to place your design accurately and keeps stitches even. Pay extra attention to the area where you plan to embroider. A flat surface helps prevent crooked designs and uneven tension while stitching.
Step 3: Mark the Design
Lightly trace your design onto the fabric using tailor’s chalk or a washable fabric pen. Keep the lines thin and faint so they do not show through the embroidery. Double-check placement by wearing the pants or laying them flat. This step helps avoid mistakes that are hard to fix later.
Step 4: Add Stabilizer
Place stabilizer on the inside of the pants, directly behind the design area. Stabilizer supports the fabric and prevents puckering while you stitch. This step is especially important when you embroider on denim or stretch fabrics, which tend to shift under tension. Choose tear-away stabilizer for most projects or iron-on stabilizer for extra support.
Setting Up the Embroidery Hoop
Hooping pants is harder than hooping flat cloth.
How to hoop pants
- Slide one pant leg over the inner hoop
- Center the design area
- Tighten evenly
- Keep fabric taut, not stretched
If the hoop does not fit, stitch without one. Use your non-dominant hand to control tension.For embroider on jeans, smaller hoops give better control around seams.
Basic Embroidery Stitches for Pants
Use simple stitches that hold up to wear.
Running Stitch
The running stitch is one of the simplest embroidery stitches and is perfect for beginners. It creates a dashed line effect, which works well for outlines, borders, and light decorative details. To make this stitch, pass the needle in and out of the fabric at equal distances. Keep the stitches short and even for a clean look. This stitch is ideal for small designs and areas that do not need heavy coverage.
Back Stitch
The back stitch is stronger and more defined than the running stitch. It creates a solid line that looks almost continuous. This makes it perfect for lettering, text, and bold outlines on pants. To form this stitch, bring the needle up, then insert it slightly behind the previous stitch. The back stitch holds up well to regular wear, which is why it is often used on pants and jeans.
Satin Stitch
The satin stitch is used to fill small shapes with smooth, solid color. It works best for leaves, petals, and simple icons. Stitches should lie closely side by side without overlapping. Keep tension even so the surface looks flat and glossy. This stitch is best used on small areas, as large satin-filled sections can snag or loosen over time.
Chain Stitch
The chain stitch adds texture and a decorative raised look to embroidery. It is especially useful when working on thicker fabric like denim. Each stitch loops into the next, forming a chain-like pattern. This stitch works well for outlines, vines, and decorative borders. Because it is slightly raised, it adds depth and visual interest to embroidered pants.
French Knots
French knots are small, raised stitches often used as accents. They work well for dots, flower centers, or tiny decorative details. To make a French knot, wrap the thread around the needle one or two times before inserting it back into the fabric. Keep the knot snug but not tight. Practice helps, as consistent knots make the design look neat and balanced.
Mastering these covers most embroidery on pants projects.
How to Embroider on Pants (Step-by-Step)
This section explains how to embroider on pants clearly and safely.
Step 1: Thread the Needle
Cut about 18 inches of embroidery floss. Longer thread tangles easily, so avoid using more than this. Separate the strands if the design needs finer detail. Most embroidery floss has six strands. For pants, using two or three strands gives clean, strong stitches. Thread the needle smoothly and pull the floss through, leaving a short tail.
Step 2: Secure the Start
Before stitching, secure the thread so it does not come loose later. You can tie a small knot at the end of the floss if the fabric is thick. For lighter fabrics, use a tiny back stitch instead of a knot. This keeps the back of the embroidery neat and prevents bumps that may feel uncomfortable when wearing the pants.
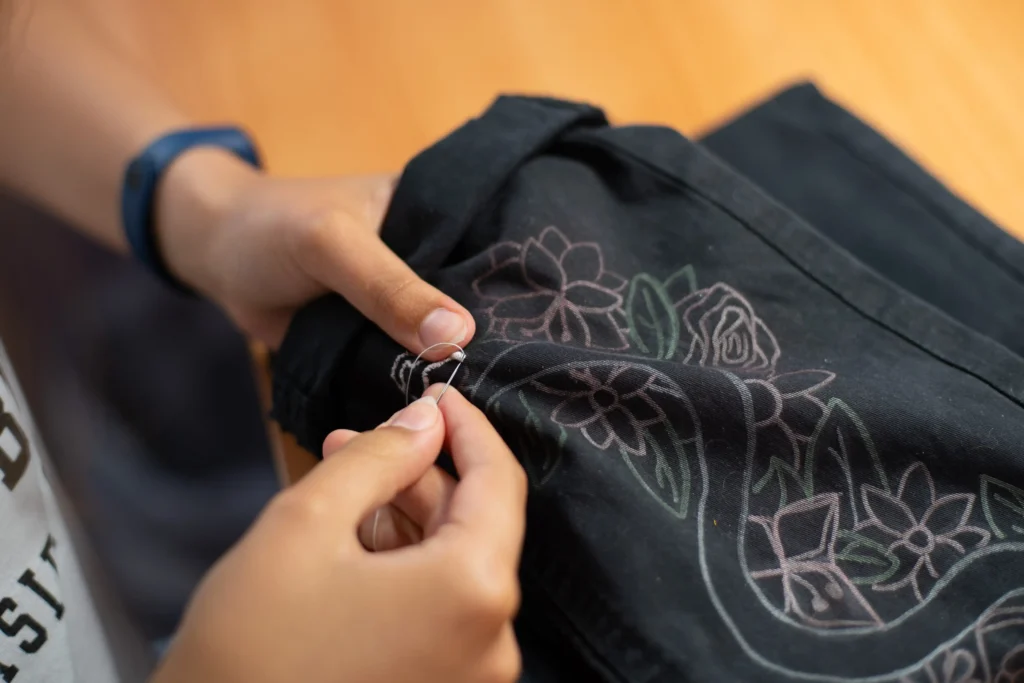
Step 3: Start Stitching
Begin stitching along the marked design line. Move slowly and focus on placing each stitch evenly. Try to keep the stitch length consistent, especially on visible areas. Working slowly helps avoid mistakes and makes the embroidery look clean and balanced from the front.
Step 4: Watch Tension
Pull the thread just enough so it rests flat against the fabric. Do not pull too tight, as this can cause the fabric to pucker or warp. Loose tension, on the other hand, can make stitches look messy. Stop often to check that the fabric stays smooth and relaxed in the hoop.
Step 5: Handle Seams Carefully
When stitching near seams or thick areas, switch to shorter stitches. Thick fabric layers can bend the needle or strain the thread. Push the needle straight through and use a thimble if needed. Take your time around seams so the embroidery remains even and secure.
Step 6: Finish Securely
When the design is complete, secure the thread on the back side of the fabric. Slide the needle under a few existing stitches and tie a small knot close to the fabric. Trim excess thread neatly. Make sure the knot is hidden so it does not rub against the skin or show through the fabric.
This same method applies when you embroider on jeans or lighter pants.
Working With Denim and Thick Fabric
Denim needs special care.
Tips for embroidery on jeans
- Use sharp needles only
- Stitch away from thick seams when possible
- Push the needle straight down
- Rest hands often
For embroider on denim, patience matters more than speed. Clean work always takes longer.
Finishing the Embroidery
Finishing protects your work and improves appearance.
Steps
- Trim loose threads
- Remove stabilizer gently
- Press from the back with low heat
- Place cloth between iron and stitches
Never iron directly on raised embroidery.
Care Instructions for Embroidered Pants
Good care keeps embroidery looking new.
Washing
- Turn pants inside out
- Use cold water
- Mild detergent only
Drying
- Air dry when possible
- Avoid high heat
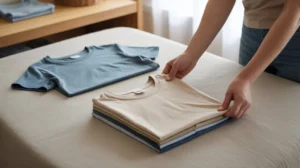
Storage
- Fold with embroidery facing outward
- Avoid heavy pressure
Proper care is vital after embroidery on jeans since denim is heavy.
Common Mistakes to Avoid
Avoid these issues to save time and fabric.
- Skipping stabilizer
- Pulling thread too tight
- Using dull needles
- Stitching across stretch areas
- Choosing oversized designs
Each mistake shortens the life of embroidery.
Creative Embroidery Ideas for Pants
Once you learn how to embroider on pants, design options expand.
Popular ideas
- Floral ankle borders
- Minimal stars on pockets
- Ethnic patterns on side seams
- Initials near waistline
- Matching motifs with tops
For daily wear, keep designs simple and flat.
Why Hand Embroidery Still Matters
Hand embroidery gives control machines cannot.
- Better fabric feel
- Unique character
- Strong stitch control
- Easy repair
This is why many artists still prefer hand methods for embroidery on jeans and custom pants.
Conclusion
Learning how to embroider on pants is a skill that blends patience with creativity. With basic tools, steady hands, and smart design choices, you can transform everyday pants into lasting pieces.
Focus on preparation, stitch control, and proper care. For personalized guidance or tips, contact us and let us help you create beautiful embroidered pants.
FAQs
Can beginners embroider ready-made pants?
Yes. Start with simple designs like small flowers, initials, or lines. Firm fabrics like cotton or denim work best. Use a stabilizer to prevent puckering and begin with a small area to build confidence.
Is embroidery safe on stretch pants?
Yes, but use a stabilizer. Shorter stitches and gentle tension prevent distortion. With care, embroidery can stay neat and last through multiple washes.
How long does embroidery last on pants?
With proper stitching and care, embroidery can last for years. Wash inside out with mild detergent and air dry to preserve thread strength and color.
Can I embroider on denim by hand?
Yes. Denim is thick and durable. Use a strong needle and stabilizer, and stitch carefully near seams for clean, long-lasting designs.
What thread works best for embroidery on jeans?
Cotton embroidery floss is best. It is strong, flexible, and washes well. Use 2–3 strands on thick fabrics like denim. Polyester can be used for extra strength.