Embroidery adds character to clothing. It turns a plain shirt into something personal, thoughtful, and lasting. Many people want to try it but hesitate. They worry about damaging fabric, ruining fit, or wasting time. These concerns are fair, especially if you are new to embroidery on clothing.
So, can I embroider directly on a shirt? Yes, you can. With the right fabric choice, tools, and preparation, direct embroidery on a shirt is safe and effective. This guide shows you how to do it cleanly, avoid mistakes, and get long-lasting results without stress.
Is It Safe to Embroider Directly on a Shirt?
Yes. It is safe to embroider directly on a shirt when done correctly.
The risk comes from skipping preparation. Shirts move, stretch, and shift while you stitch. Without support, stitches pull the fabric and cause wrinkles. That is why most embroidery issues are not about the shirt itself; they come from poor setup. Using a well-structured shirt like the Embroidered Charm Bow Shirt from Zuhoor helps minimize these problems, as its fabric holds stitches neatly and stays stable during embroidery.
Direct embroidery works best when:
- The fabric is stable
- The shirt is hooped correctly
- A proper embroidery stabilizer for shirts is used
Cotton shirts handle embroidery very well. Linen, denim, and twill also perform well. Problems start when people embroider thin or stretchy shirts without support.
If you prepare the fabric, direct embroidery does not weaken the shirt. It becomes part of the garment.
Best Types of Shirts for Embroidery
Not all shirts behave the same under a needle. Fabric choice matters more than design skill.
Cotton shirts
Cotton is the easiest fabric to work with for embroidery. It holds stitches well, resists puckering, and stays flat in the hoop, which makes it perfect for beginners and detailed designs.
Linen shirts
Linen has a natural texture with strong fibers that handle embroidery nicely. Using a stabilizer helps control fabric movement and keeps stitches clean and even.
Denim shirts
Denim supports bold stitches and dense designs without distortion. A sharp needle and slightly thicker thread help the stitches sit neatly on the surface.
Twill and canvas shirts
These fabrics are firm and forgiving, making them ideal for logos, lettering, and structured designs. They provide excellent stitch definition and long-term durability.
Hand Embroidery vs Machine Embroidery on Shirts
Both methods work, and your choice depends on skill level and purpose. Whether you are doing hand embroidery on clothing or using a machine, Zuhoor provides high-quality shirts that make either method easier and produce professional-looking results.
Hand Embroidery on Clothing
Hand embroidery offers control. It works best for:
- Small designs
- Personal details
- Custom placement
You feel the fabric and adjust tension as you go. This reduces mistakes on delicate shirts.
Machine Embroidery on Shirts
Machine embroidery suits:
- Repeated designs
- Logos
- Bulk projects
Machines need precise hooping and correct stabilizers. Errors show fast but results stay consistent when done right.If you are new, start with hand embroidery. It teaches fabric behavior.
Tools and Supplies You Need
Good tools protect your shirt and improve results.
Essential Tools
- Embroidery hoop
- Embroidery needles (sharp or ballpoint)
- Cotton or polyester thread
- Fabric marking pen or chalk
- Sharp scissors
Stabilizer Supplies
- Tear-away stabilizer
- Cut-away stabilizer
- Wash-away stabilizer
Using the right embroidery stabilizer for shirts prevents stretching and puckering.
Why Stabilizer Is Important When Embroidering Shirts
Stabilizer acts as a temporary backbone for fabric.Shirts flex. Stitches do not. Stabilizer absorbs that tension.
Tear-away stabilizer
Good for cotton shirts and light designs. It provides enough support during stitching and removes cleanly without leaving bulk behind.
Cut-away stabilizer
Best for stretchy or thin fabrics that need long-term support. It stays in place after stitching to prevent stretching and distortion over time.
Wash-away stabilizer
Ideal for visible areas or sheer fabrics where you do not want any residue. It dissolves in water, leaving only clean stitches on the shirt.
Skipping stabilizer is the most common mistake in embroidery on shirts.
How to Embroider Directly on a Shirt (Step-by-Step)
This method applies to both hand and machine embroidery.
Step 1: Wash and Iron the Shirt
Wash the shirt before embroidery to remove shrinkage and factory finishes. Fabric that shrinks later can distort your design. Iron the shirt flat so marking and hooping stay accurate.
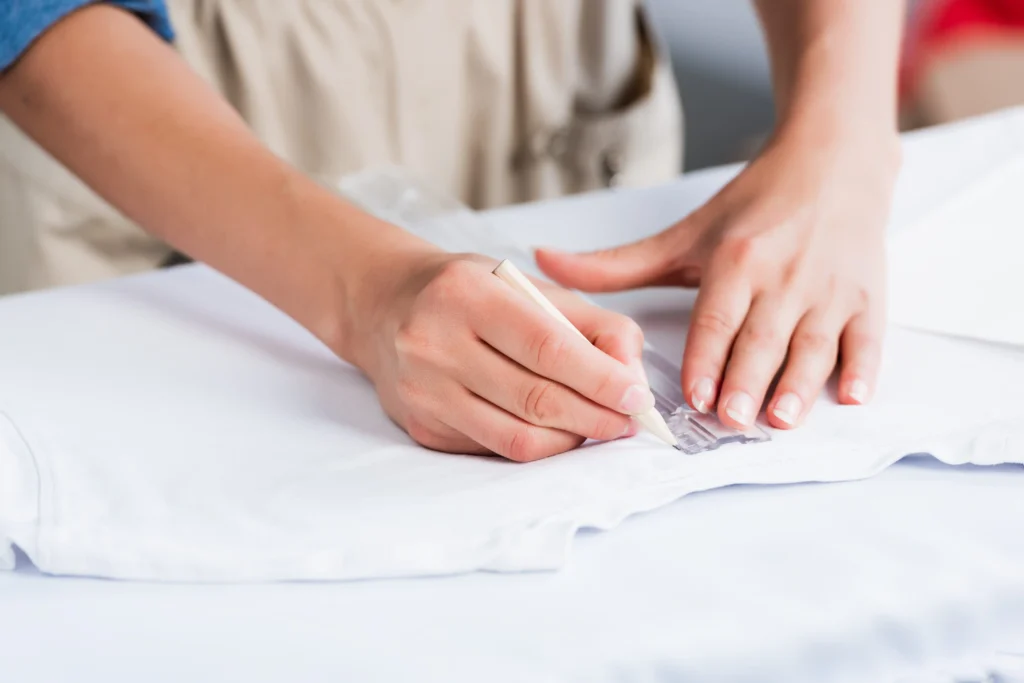
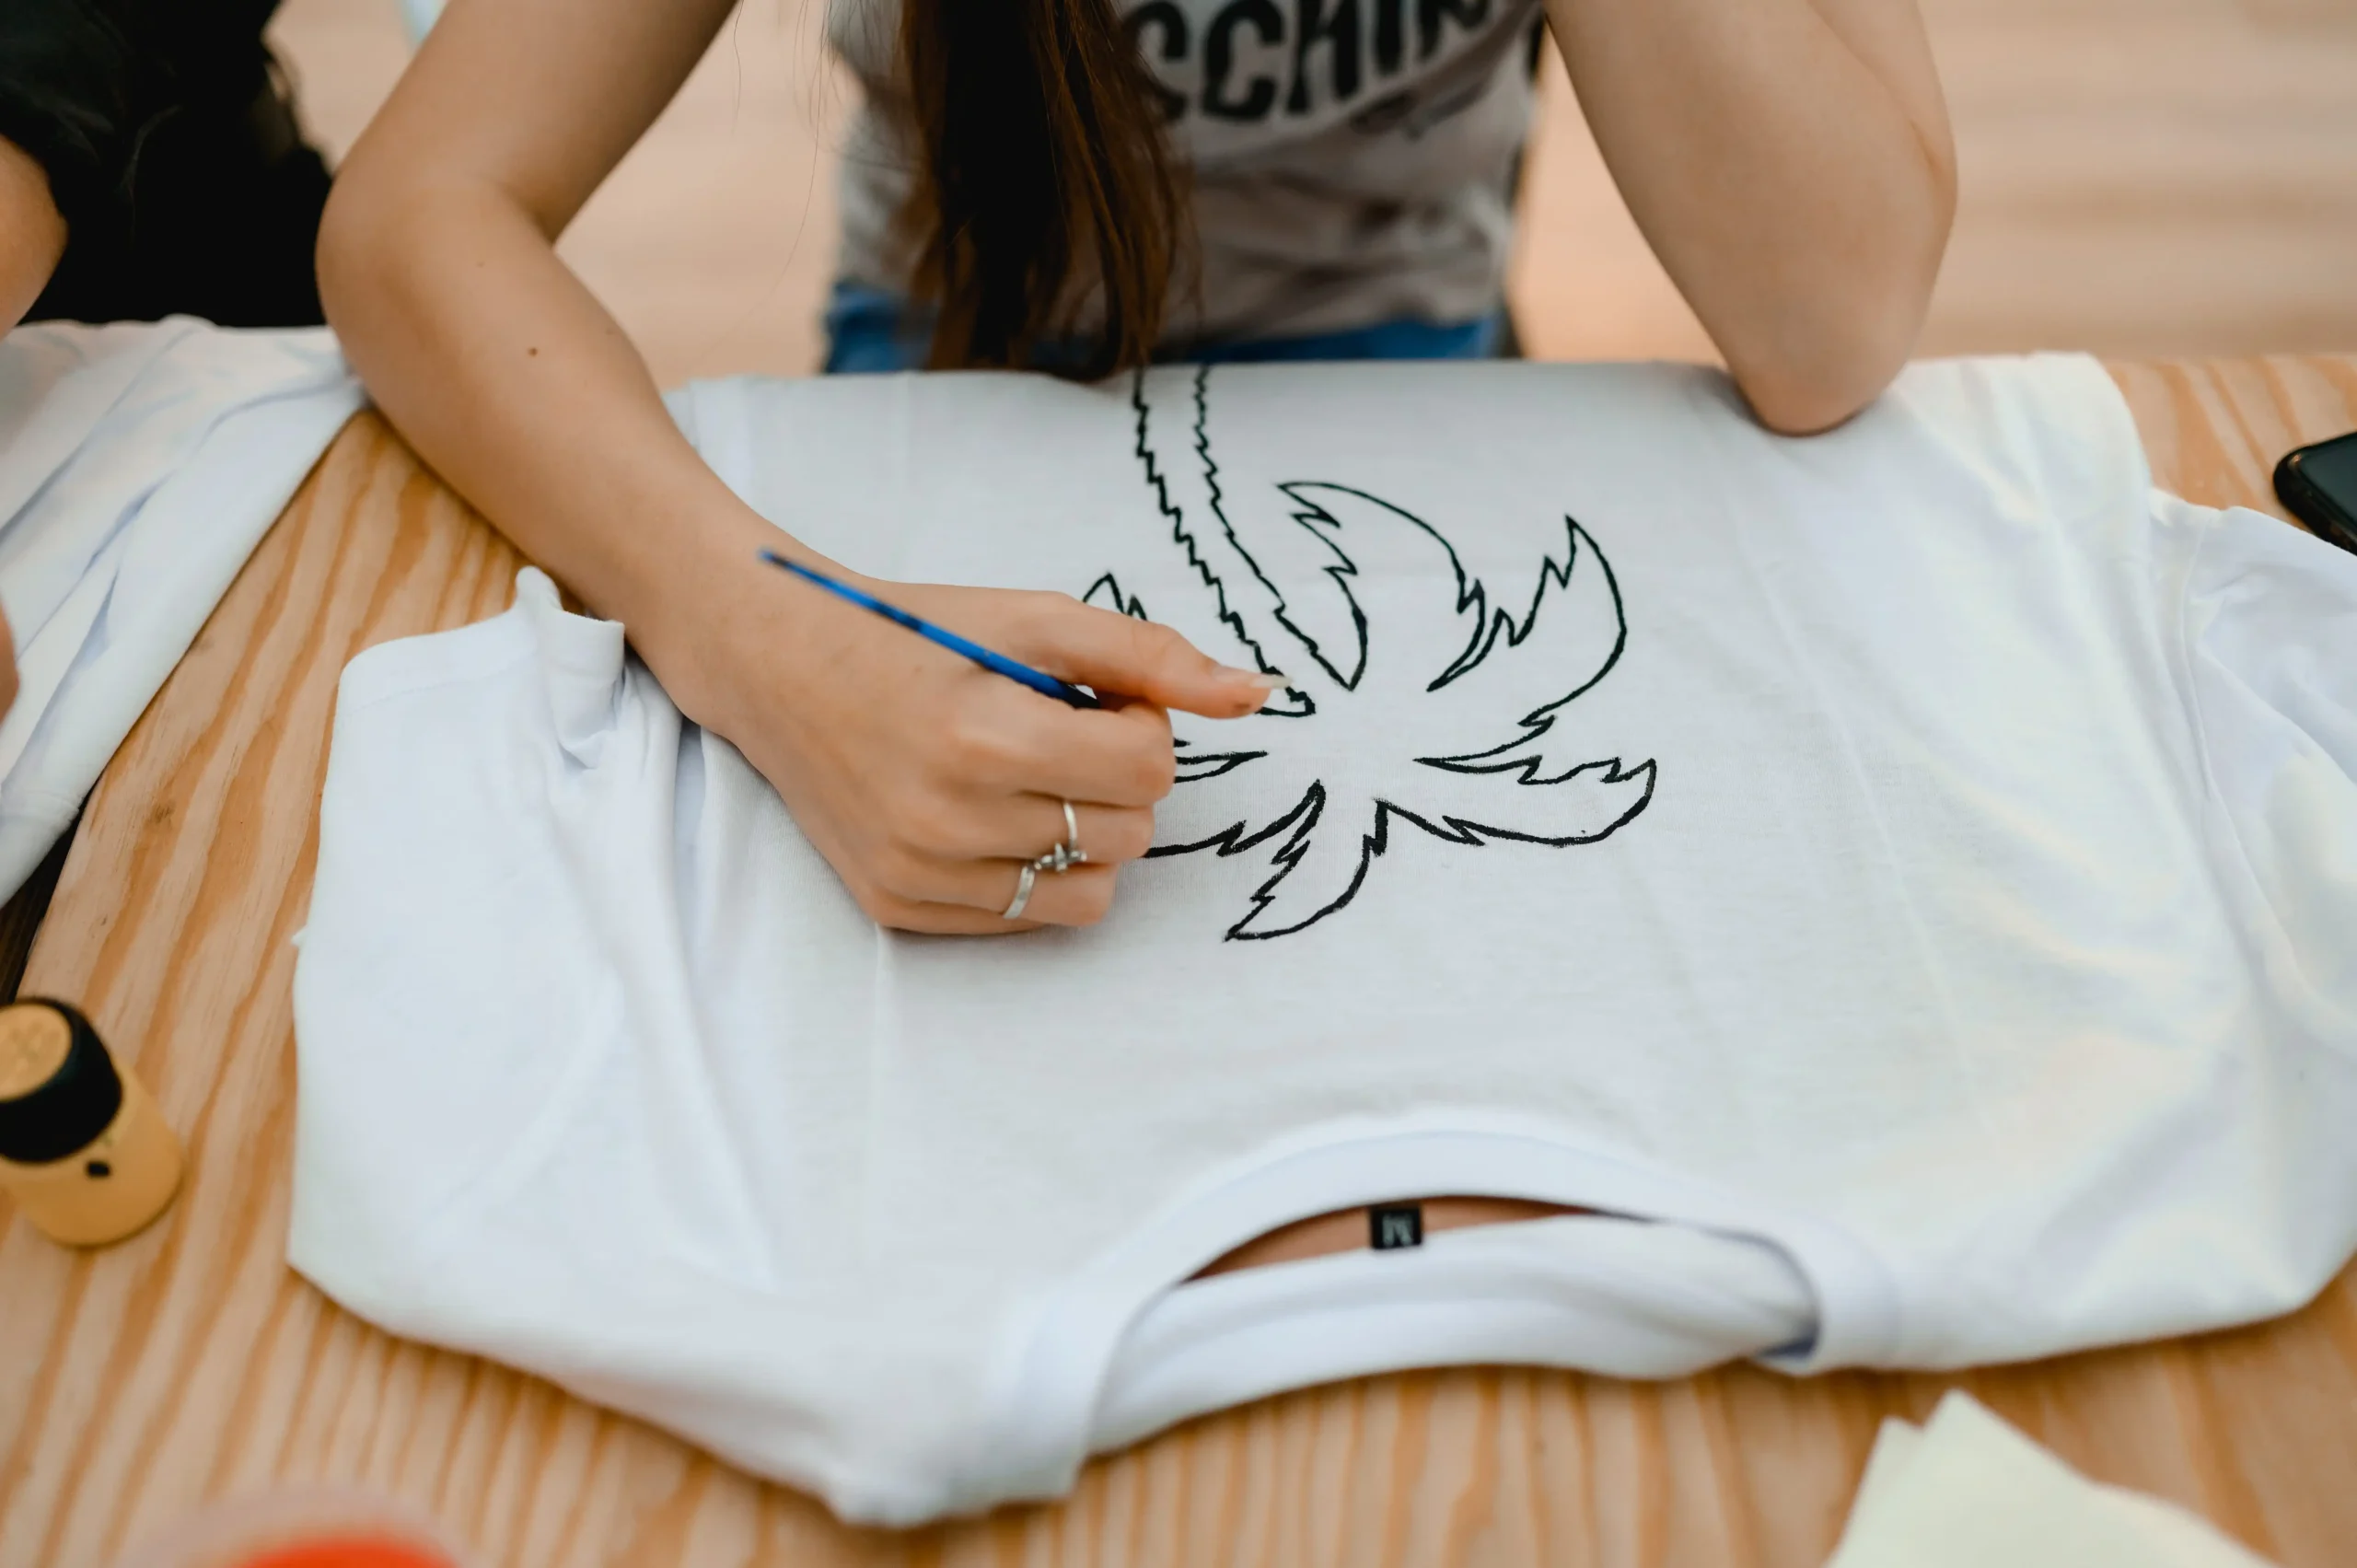
Step 2: Transfer Your Design
Use chalk, water-soluble pens, or transfer paper to place your design. For beginners, small and simple designs are easier to control and stitch cleanly.
Step 3: Add Stabilizer
Place the stabilizer behind the fabric and smooth it out completely. This support keeps the shirt from shifting while you stitch.
Step 4: Hoop the Shirt Correctly
The fabric should feel firm in the hoop but never stretched. Make sure the shirt lies flat to avoid wrinkles and uneven stitches.
Step 5: Start Stitching
Work slowly and maintain even thread tension. For hand embroidery, shorter stitch lengths give better control and cleaner results.
Step 6: Finish and Clean
Remove the stabilizer carefully once stitching is complete. If you use a wash-away stabilizer, rinse the shirt gently to dissolve it without damaging the embroidery.
This process answers the question many beginners ask: Can I embroider directly on a shirt without ruining it? Yes, when you follow these steps.
Best Stitch Types for Shirt Embroidery
Some stitches perform better on wearable fabric.
Back stitch
Strong and clean. Best for outlines, lettering, and fine details. It creates smooth, unbroken lines that hold their shape even after repeated washing.
Satin stitch
Smooth fill for small areas like petals, bows, or logos. It gives a polished look when stitches are placed evenly and not pulled too tight.
Chain stitch
Flexible and decorative, making it great for borders and curved designs. This stitch adds texture and works well on areas that move with the fabric.
Running stitch
Light and simple, ideal for thin fabrics and minimalist designs. It reduces fabric stress and keeps the shirt soft and comfortable to wear.
Avoid heavy stitch density on shirts. It stiffens fabric.
How to Prevent Puckering and Fabric Damage
Puckering ruins embroidery. Prevention matters more than fixing.
Key Tips
- Use stabilizer every time
- Match needle size to fabric
- Keep hoop tension even
- Avoid pulling thread tight
Most puckering comes from tension issues, not skill.
Can You Embroider on Stretchy or Thin Shirts?
Yes, but caution is required.
Use:
- Cut-away stabilizer
- Ballpoint needles
- Light stitch density
Never stretch fabric in the hoop.For thin shirts, smaller designs work best.
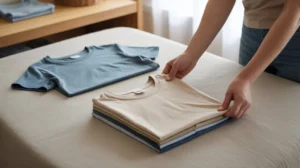
Washing and Caring for Embroidered Shirts
Care keeps embroidery looking new.
Washing Tips
- Turn shirt inside out
- Use cold water
- Avoid harsh detergents
Drying Tips
- Air dry when possible
- Avoid high heat
Proper care extends the life of embroidery on shirts.
Why Direct Embroidery Lasts Longer Than Prints
Embroidery becomes part of the fabric.Prints sit on top. They crack and peel.Embroidery bends with fabric. It fades slower and stays sharp.That is why many choose embroidery for long-term wear.
Conclusion
So, can I embroider directly on a shirt? Yes, you can, and it is a smart choice when done correctly. Direct embroidery is safe, durable, and rewarding. The key lies in fabric choice, stabilizer use, and careful stitching. Whether you prefer hand embroidery on clothing or machine work, preparation protects your shirt and improves results. With the right steps, embroidery becomes a lasting feature, not a risk.
If you want high-quality embroidered pieces or need guidance choosing the right fabric and design, contact us and our team will be happy to help.
FAQs
Can beginners embroider directly on a shirt?
Yes. Beginners can embroider directly on a shirt with good results. Starting with cotton shirts and simple patterns helps build confidence and control. Using a hoop and stabilizer makes the process much easier.
Do I always need a stabilizer?
Yes. Stabilizer is essential for keeping the fabric from shifting while you stitch. It helps prevent puckering, uneven tension, and long-term fabric damage.
Can embroidery be removed?
Embroidery can be removed by carefully cutting the stitches from the back. However, needle holes or slight marks may remain, especially on thin or tightly woven shirts.
Is embroidery better than printing?
For durability, embroidery is better. It stays intact through washing and wear, while printed designs can crack, fade, or peel over time.
How long does shirt embroidery last?
With proper care, embroidered shirts can last for many years. Gentle washing, low heat, and careful storage help preserve the stitches and fabric.